
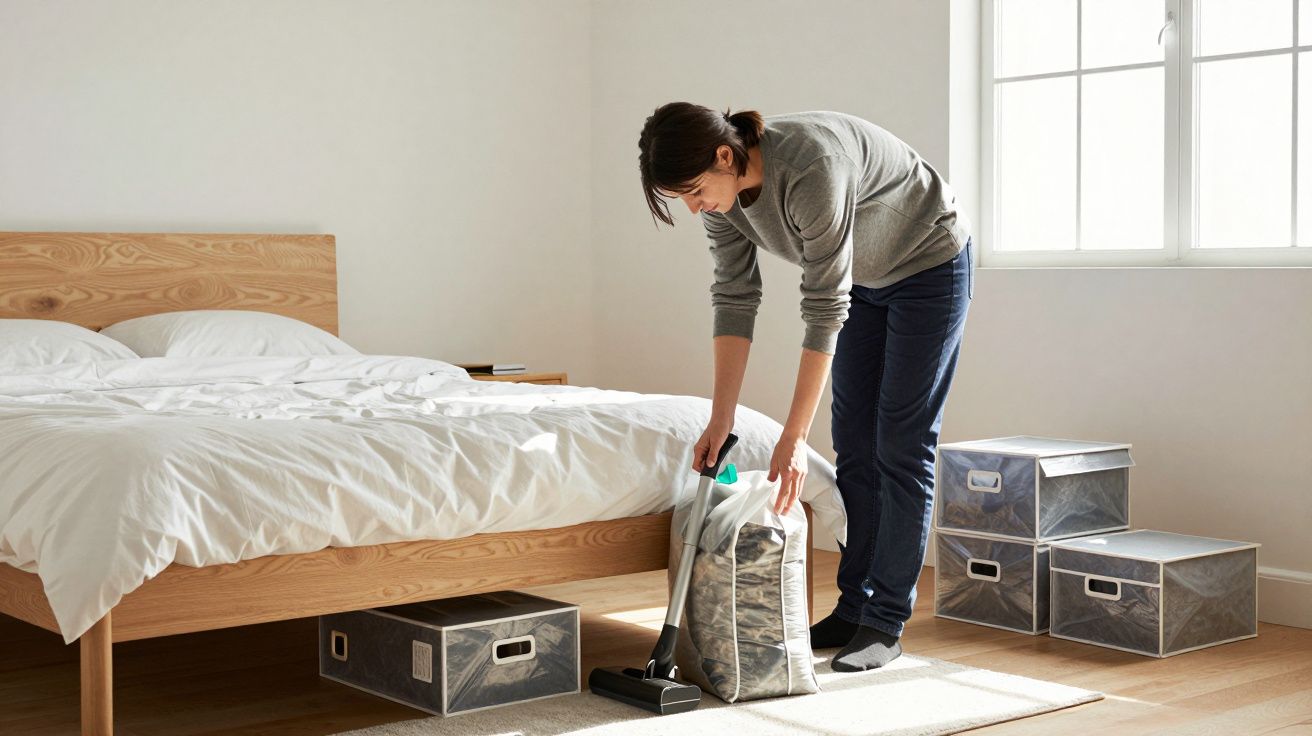
On a January night in an end‑terrace in Derby, the kind where the wind finds every crack in the brickwork, Sarah stood in the front room nursing a mug of tea and watching her breath fog the window. The boiler was on, the thermostat said 19°C, and yet the hallway felt like a bus stop. Warmth from the radiators bled straight up the stairwell, past the single‑glazed landing window and into the dark.
She’d tried the usual fixes. A chunky draught sausage at the bottom of the sitting‑room door. A reflective panel behind the radiator. She’d even been tempted by a £150 “smart” radiator fan that promised to push heat round the room. Then an energy assessor from a local council scheme came round, took one look at the gaps around her interior doors, and pulled a £2 roll of foam strip from his toolkit.
It looked insultingly simple: a length of self‑adhesive rubber, the kind you’d walk past in any discount DIY aisle. Twenty minutes later, the room felt different in a way the gadgets never had. Same boiler, same radiators, same thermostatic valve. But now, when the sitting‑room door clicked shut against its new soft seals, the warmth stayed put. The hallway could be chilly. The room where she actually lived wasn’t.
That’s the £2 “upgrade” energy assessors keep coming back to: turning a basic draught excluder into a sealed, warm room you can actually afford to heat.
The tiny fix most old terraces are missing
Most of us think of a draught excluder as that sausage‑shaped cushion you shove along the bottom of a door. It helps, but it’s only doing a third of the job. In a typical Victorian or 1930s terrace, there are three main leaks around an internal door:
- The bottom gap (where the sausage sits)
- The latch side and hinge side (long vertical gaps)
- The top edge (the worst for rising warm air)
The £2 upgrade is simply this: add self‑adhesive foam or rubber strip around the sides and top of the door frame, so the whole doorway starts behaving like a fridge door instead of a letterbox.
You keep your existing draught sausage. The strip just closes the other three edges.
An assessor in Leeds described it to one family as “putting a lid on your saucepan”. Without it, the boiler is simmering away and the heat drifts straight out under the kitchen door and up the stairs. With it, you get a proper warm zone where your life actually happens.
“If I have ten minutes in an old terrace, I’d rather seal one living‑room door than install half the smart kit on the market,” says one retrofit assessor who works across West Yorkshire. “It’s boring, but it works.”
Why a £2 strip can beat a £200 gadget
Old terraces leak heat in a very particular way. Warm air rises through the house, sucking cold air in at ground level through every gap: under doors, through floorboards, round skirting, via keyholes and letterboxes. It’s called the stack effect, and in tall, narrow houses it’s strong.
Expensive gadgets – smart thermostats, radiator boosters, intelligent TRVs – can only do so much if the warm air they produce is allowed to escape the room within minutes. You end up paying to heat:
- The stairwell you walk through twice an hour
- The front hall that never quite feels cosy
- The landing ceiling and the loft above it
When you turn an internal door into a seal, three things change:
- The warm room behaves more like a flask. Heat stays longer, so the boiler doesn’t have to cycle as often.
- You can run the hallway and stairs colder without feeling it so sharply, because the place you sit still is comfy.
- Radiators in that room actually reach and hold the set temperature, instead of constantly battling draughts.
Energy assessors who do back‑to‑back visits will tell you the same story: you feel this most clearly in rooms with one door to a cold hall. Seal the sides and top, pair it with a bottom excluder, and the temperature drop when the boiler clicks off can slow by a full degree an hour or more.
It’s not magic. It’s stopping your heating from trying to warm the street via the stairwell.
How to do the draught‑strip upgrade in under 20 minutes
You don’t need power tools or a full toolbox. A steady hand, scissors and a dry door frame are enough.
What you need (for one door):
- 1 roll of self‑adhesive foam or rubber draught strip (often £2–£3)
- Your existing draught excluder or a rolled towel for the bottom
- Scissors or a sharp knife
- A cloth to wipe dust from the frame
Step‑by‑step:
- Pick your zone. Start with the room you spend most time in: usually the living room or a ground‑floor bedroom. It should have a door you can keep shut.
- Clean the frame. Wipe dust and grease from the inner face of the door frame on the hinge side, latch side and across the top. Let it dry for a couple of minutes.
- Measure and cut. Hold the foam strip along one side, mark the length, and cut it. You want one piece for each side and one across the top.
- Stick it inside the stop. Most internal frames have a thin “stop” that the door closes against. Peel the backing and stick the strip just inside that line, so the door will gently compress it when closed.
- Check the close. Shut the door slowly. You should feel a soft resistance, not a jam. If it’s too tight in one spot, snip a small section out or use thinner strip.
- Seal the top. Don’t skip this: the hottest air is at ceiling level. The top strip is where much of the gain comes from.
- Pair with the bottom. Put your sausage draught excluder or rolled towel along the bottom as usual. Together, they now complete the seal.
In a terraced house with original timber doors, expect a slightly softer “thunk” when it shuts and a noticeable drop in whistling or movement of the flame if you hold a tea‑light near the crack.
Think of it as “finishing” your existing draught excluder, not adding a new job. Same habit of shutting the door, just a better result.
Where this pays off most in terraces
Not every door needs treatment on day one. Focus on the ones that divide warm life zones from the colder parts of the house.
| Spot in the house | £2 fix | What you feel |
|---|---|---|
| Living room → hall door | Foam strip + draught sausage | Softer air, warmer feet, TV nights without a blanket pile |
| Kitchen → back lobby / outhouse | Foam strip on frame, towel at base | Less icy blast every time you go to the bin or yard |
| Cellar / under‑stairs cupboard door | Thick strip, bolt it shut | Fewer cold draughts sneaking up through floorboards |
| Bedroom → landing | Thin strip (so it still closes quietly) | Warmer room at night with rads set a notch lower |
In many Victorian terraces, the biggest single improvement comes from treating the room you shut the door on for the evening, then letting the rest of the house drift a degree or two cooler.
An assessor in Cardiff talks about “building islands”: a properly sealed front room, a bedroom that holds warmth till morning, and a kitchen you can heat quickly for meals without trying to warm the entire staircase and loft every time.
Making the most of your new warm zone
Sealing doors is half the story. The other half is how you run the house once you’ve done it.
Small habit shifts that stack up:
- Close doors properly. It sounds obvious, but an unlatched door leaks warmth like an open window. Make “click it shut” automatic when you go into the warm room.
- Let the hallway be cooler. Once the sitting room or bedroom keeps its heat, you can nudge hallway radiators down or even off, especially on stairwells.
- Pair with heavy curtains. In old terraces, a thick curtain over the front door and across big windows keeps that sealed room feeling “tucked in”.
- Ventilate on purpose, not by accident. Open a window wide for five minutes after cooking or drying clothes, then close it again. Fresh air in a burst is better than a constant creeping draught undoing your seals.
Energy assessors often suggest a simple test: after you’ve sealed and settled into the habit, try dropping the main thermostat by 1°C for three days. If your key room still feels comfortable, that single degree often shaves a noticeable slice off the gas bill over winter.
The numbers (and the limits)
Costs and savings vary wildly by house, tariff and habits, but assessors see rough patterns:
- A roll of foam strip at £2–£3 can treat one internal door, sometimes two.
- In a very draughty terrace, sealing one main room can cut heating demand in that room by around 10–15%, simply because it cools more slowly.
- If that lets you turn hallway and landing radiators down two notches and the main thermostat down by 1°C, whole‑house gas use can drop by a few percent – which, over a long winter, adds up to more than the price of a smart plug.
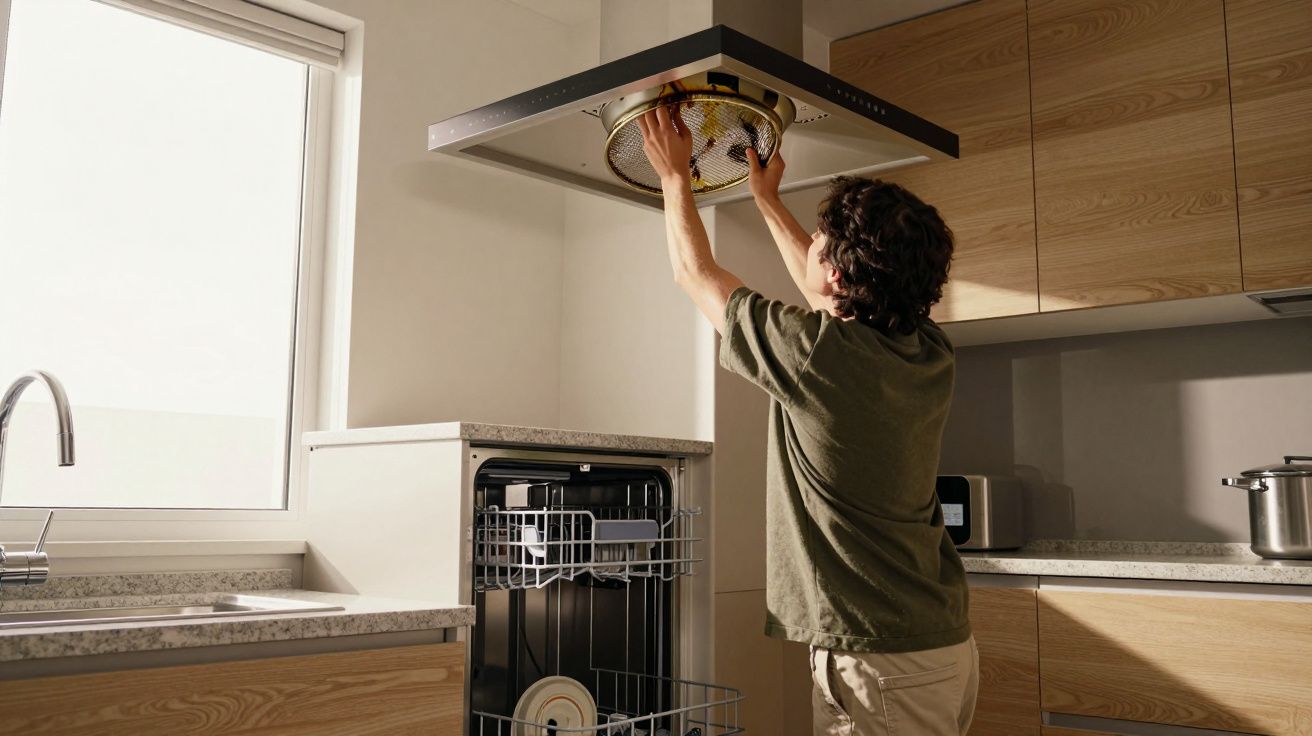
It won’t fix everything. If your loft has no insulation or your windows rattle in their frames, foam strip is a start, not an end. And if you have open flues or solid‑fuel fires, you need to be specific about where you draught‑proof so you don’t interfere with safe ventilation.
But in the hierarchy of cheap things that work fast, door sealing sits right at the top for old terraces. The kit is simple, the payback can be measured in weeks, and you feel the comfort gain the same evening.
Not a hack, a house habit
What surprised Sarah in that Derby terrace wasn’t the £2 cost. It was how quickly her shoulders dropped once the front room stopped losing heat to the hallway. She still wears a jumper. The boiler is still old. But she no longer feels like she’s paying to heat the staircase.
On paper, it’s a strip of foam and a slightly snugger door. In daily life, it’s the difference between hovering at the thermostat and actually relaxing on the sofa.
That’s why assessors keep nudging people back to the dull stuff: seal first, then shop for gadgets if you still need them. Once your warm rooms behave like warm rooms, all the clever controls and smart valves have something to work with.
The £2 upgrade isn’t glamorous. It doesn’t flash or ping or send notifications to your phone. It just helps the warmth you already pay for stay where you are, instead of slipping past your shoulder and up the stairs into the dark.
FAQ:
- Won’t sealing doors make my house stuffy or damp? Not if you’re sensible. Keep kitchen and bathroom extractors working, open windows wide for a few minutes after showers or cooking, and don’t block purpose‑made vents. You’re stopping accidental draughts, not all fresh air.
- Does this work in rented terraces where I can’t “alter” things? Often yes. Self‑adhesive foam strips can usually be removed with care and a bit of soapy water. Check your tenancy agreement, avoid painting over them, and keep a note so you can peel them off if you move.
- Is thicker foam always better? No. Too thick and the door may not latch or could strain the hinges. In most internal doors, a medium or narrow strip is enough. If the door starts to jam, switch to a slimmer profile on the hinge side.
- Should I seal every door in the house? Start with one or two key doors that split warm rooms from cold spaces. If those work well and you don’t have combustion appliances relying on background air, you can add more. Always keep air paths to gas boilers and fires exactly as specified.
- What if my doors are warped and don’t meet the frame? Foam strip can bridge small gaps, but if the door is badly twisted, consider a brush strip along the bottom edge or speaking to a joiner about refitting. Even then, sealing the top edge where it does meet the frame can still help.


Comments (0)
No comments yet. Be the first to comment!
Leave a Comment